
Menu
Starlink Mini Power Kit Planner
Starlink Mini runtime is only part of the setup. Plan the battery, USB-C PD or DC path, cable headroom, reserve, solar offset, and station fit together.
USB-C, DC, ACCompare delivery paths instead of assuming Wh is enough.
Daily solar offsetSee whether panels offset daytime internet use.
Model fit checksFind source-backed station records after path assumptions.
Loading Starlink kit plannerPreparing calculator
This tool didn't load
Something blocked the calculator from starting. Check your connection or reload the page to try again.
Power station preset
Power draw preset
Delivery path
Use a USB-C PD source with enough voltage and headroom for boot.
Runtime estimate
1d 2hRuntime estimate: 1d 2hBased on 32 W average draw and 92% delivery efficiency.
Usable energy837 Wh
Daily need256 Wh
Daily solar280 Wh
Days with solaroffset
Conservative19h 37m
Estimated1d 2h
Optimistic1d 7h
Sensitivity scenarios, not a measured confidence interval: the endpoints change planning assumptions or apply the stated planning factors. They are not a guarantee or a probability of achieving this runtime.
- Starlink publishes 25-40 W average Mini consumption; the typical preset uses 32 W as the midpoint. Check the Starlink Mini spec sheet before critical planning.
- Target a USB-C PD source around 100 W with 20 V / 5 A headroom. Low-power USB-C banks can fail even when total Wh looks adequate.
- Starlink Mini draw varies with firmware, heat, sky view, boot, cable losses, and network conditions.
Kit Readiness
Selected station: Jackery Explorer 1000 v2. Use the station display and Starlink app to adjust the draw and efficiency after a real test.
What To Check Next
Source-Backed Station Starting Points
These records clear the selected delivery path output target and a one-day Starlink Mini energy need with your reserve assumption.
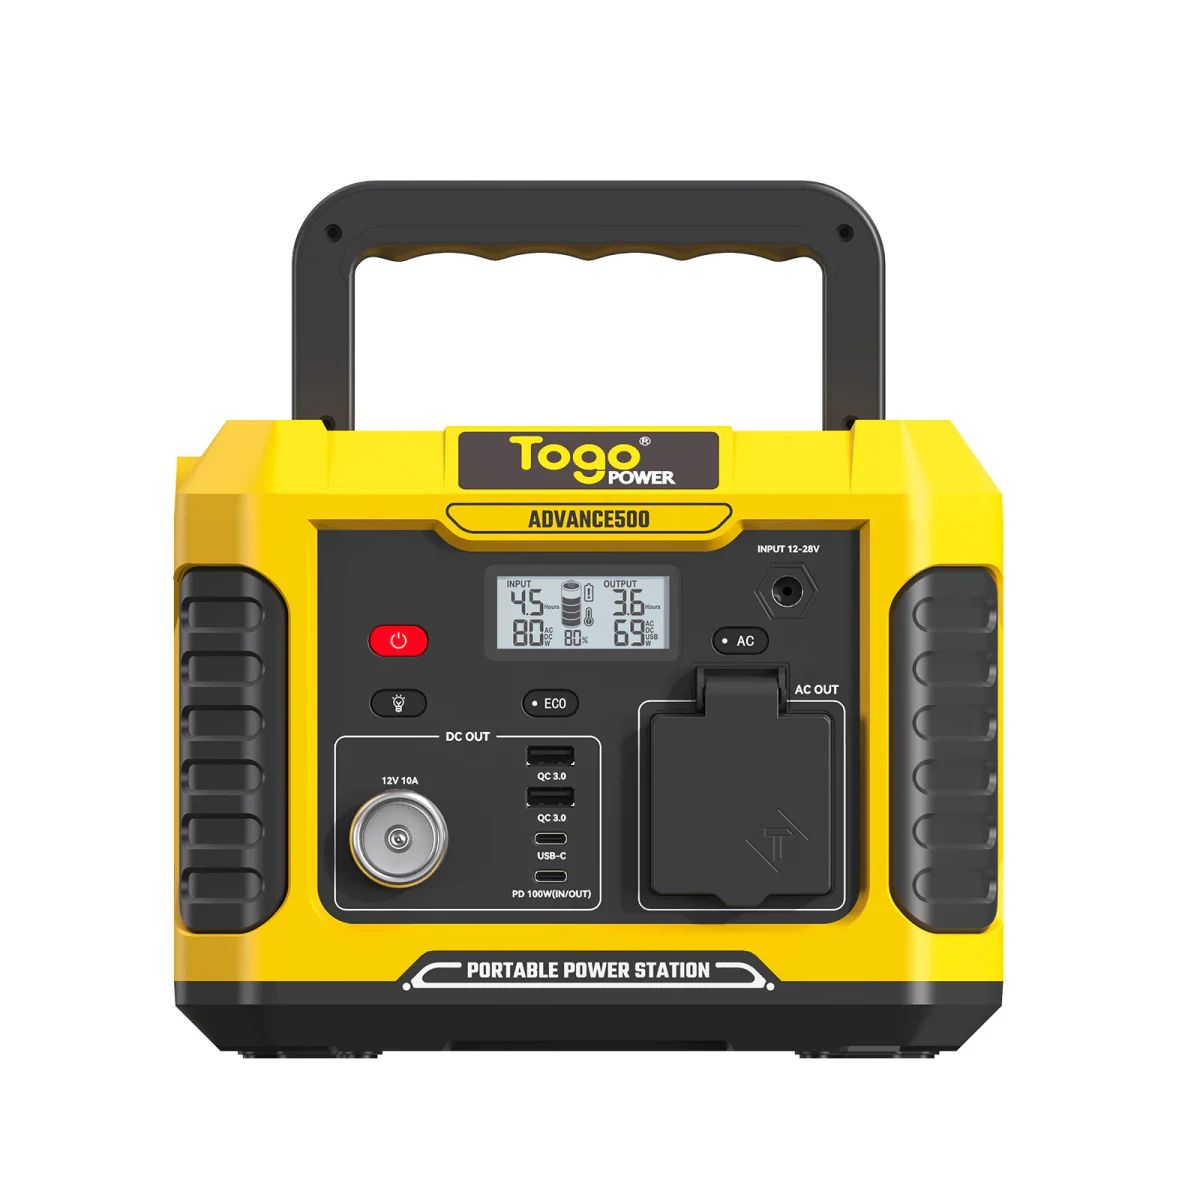
TogoPower Advance 500
346 Wh, 100 W available on this path, confidence Estimated.
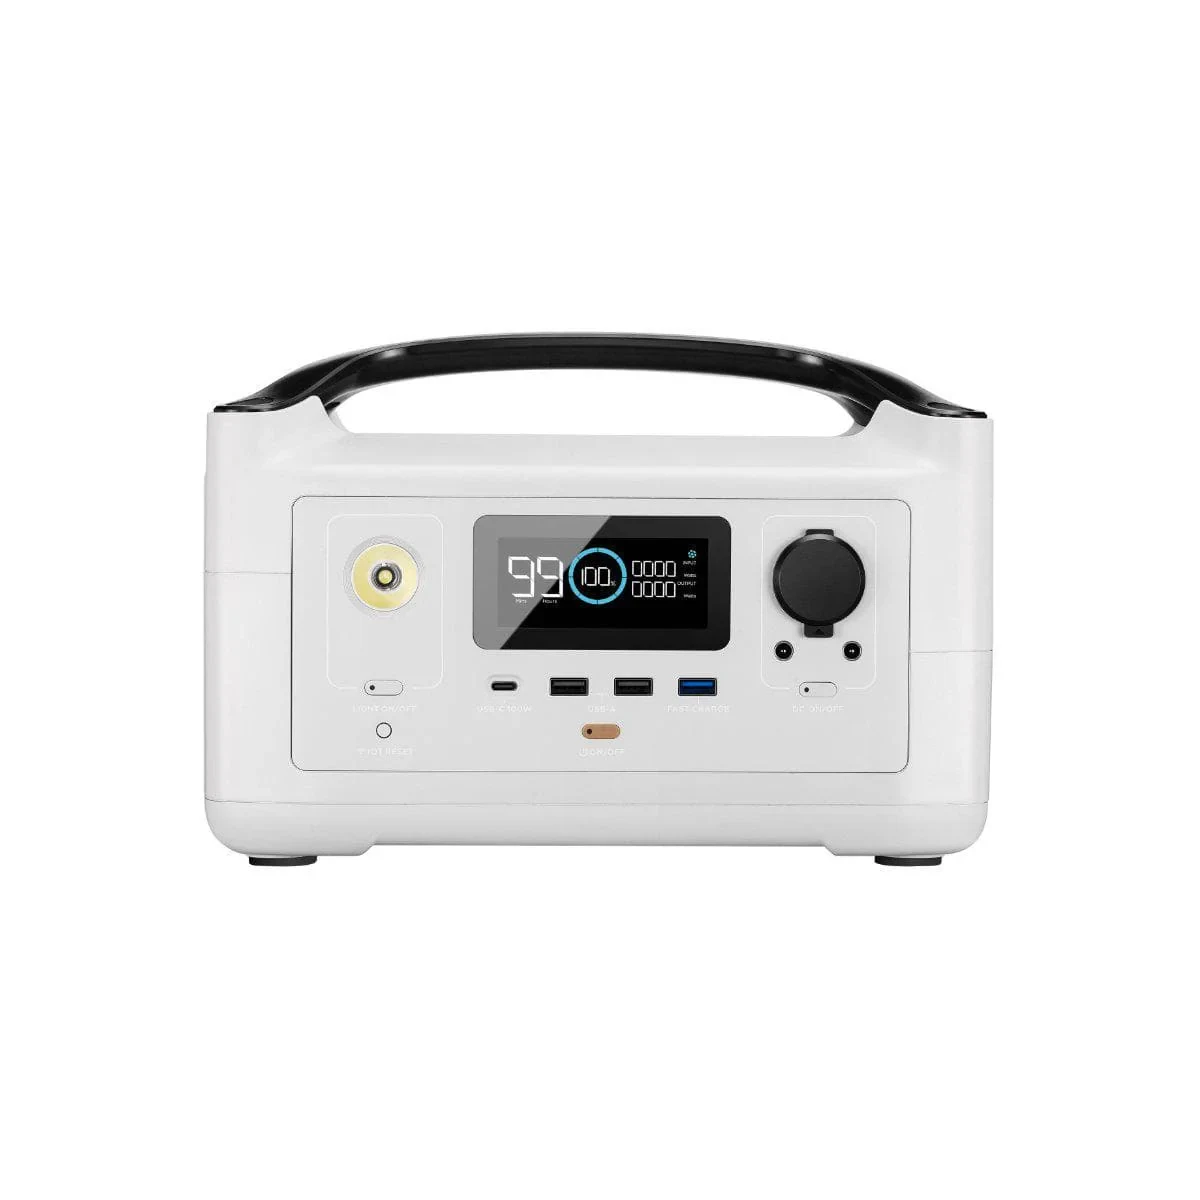
EcoFlow RIVER Plus
360 Wh, 100 W available on this path, confidence Estimated.
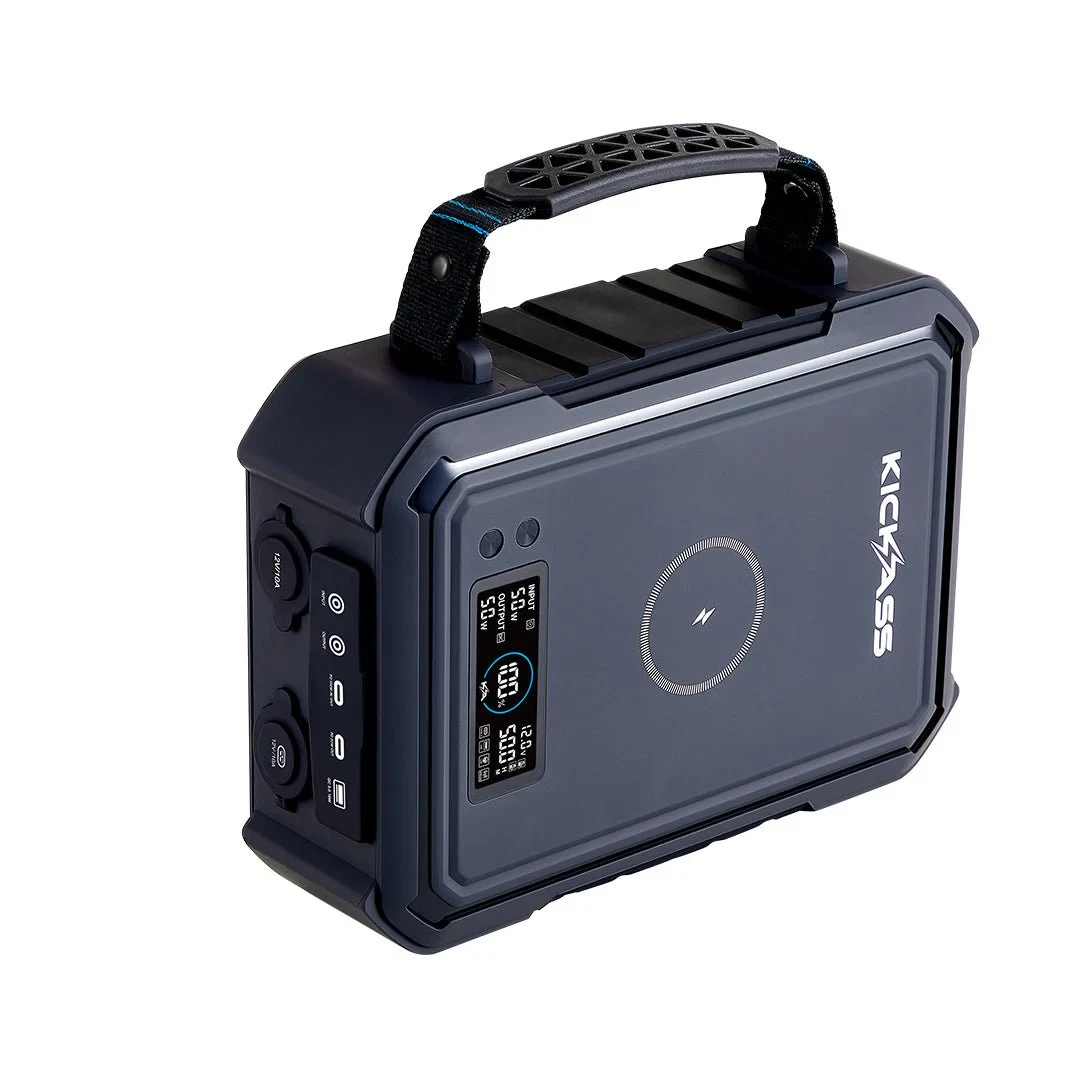
KickAss KickCharge Powerhub 380Wh
384 Wh, 100 W available on this path, confidence Estimated.
WattRunTime.com
WattRunTime Starlink Mini power kit plan
Daily energy need256 Wh
Daily solar offset280 Wh
Average draw32 W
Path output target100 W
WattRunTime Starlink Mini power kit plan
- WattRunTime Starlink Mini power kit plan
- Runtime estimate: 1d 2h
- Runtime range
- Conservative: 19h 37m
- Estimated: 1d 2h
- Optimistic: 1d 7h
- Daily energy need: 256 Wh
- Daily solar offset: 280 Wh
- Power path: USB-C PD power bank
- Path output target: 100 W
- Average draw: 32 W
- Share URL:
- Sensitivity scenarios, not a measured confidence interval: the endpoints change planning assumptions or apply the stated planning factors. They are not a guarantee or a probability of achieving this runtime.
- Starlink Mini draw varies with firmware, heat, sky view, boot, cable losses, and network conditions.
Sensitivity scenarios, not a measured confidence interval: the endpoints change planning assumptions or apply the stated planning factors. They are not a guarantee or a probability of achieving this runtime.
Starlink Mini draw varies with firmware, heat, sky view, boot, cable losses, and network conditions.
Target a USB-C PD source around 100 W with 20 V / 5 A headroom. Low-power USB-C banks can fail even when total Wh looks adequate.
Treat the kit plan as a starting point. Verify connector voltage, cable rating, weather exposure, reserve, and the station manual before using it off-grid.
Verify your watts
- Check the device label for running watts or input amps and volts.
- Use a plug-in watt meter for AC loads when the result matters.
- For cycling loads, measure long enough to capture on/off behavior.
Check output path
- AC inverter loads usually lose more energy than direct DC loads.
- Keep reserve for cold weather, battery age, and load changes.
- Do not treat label capacity as fully usable watt-hours.
Kit component checklist
Use the planner page for the whole field setup, not just battery hours. A good Starlink Mini kit has a compatible power path, cable headroom, reserve, and a solar plan for daytime use.
Power delivery path
Pick USB-C PD, direct DC, a 12 V step-up converter, or AC inverter before comparing runtime. Each path changes losses and output requirements.
Cable and connector margin
Long or thin cables can lose voltage during boot. Keep connector fit, voltage target, weather exposure, and cable rating in the same checklist as Wh.
Battery plus solar balance
A panel can offset daylight internet use, but overnight service still depends on stored Wh, reserve, and cloudy-day margin.
Day-count planning
Treat the result as a kit plan: enough output headroom to boot, enough stored energy for night use, and enough solar offset for the day you expect.
- Half-day field session: prioritize USB-C/DC compatibility and a small reserve.
- One full day: check daily Wh need against daytime solar offset.
- Two nights or outage use: keep extra stored Wh for weather, cable loss, and variable Starlink draw.